There isn't a one-size-fits-all solution when it comes to maintenance since almost every rifle is different. The only sure way to prevent unnecessary parts breakage or other issues is to keep up with the maintenance of your rifle. Below are some of the things we look for when doing routine cleaning/maintenance.
This can be a complicated subject, so if you don't know the internal parts of the bolt carrier group or the rifle itself, it would be good to familiarize yourself with them. This diagram and this video would be excellent places to start.

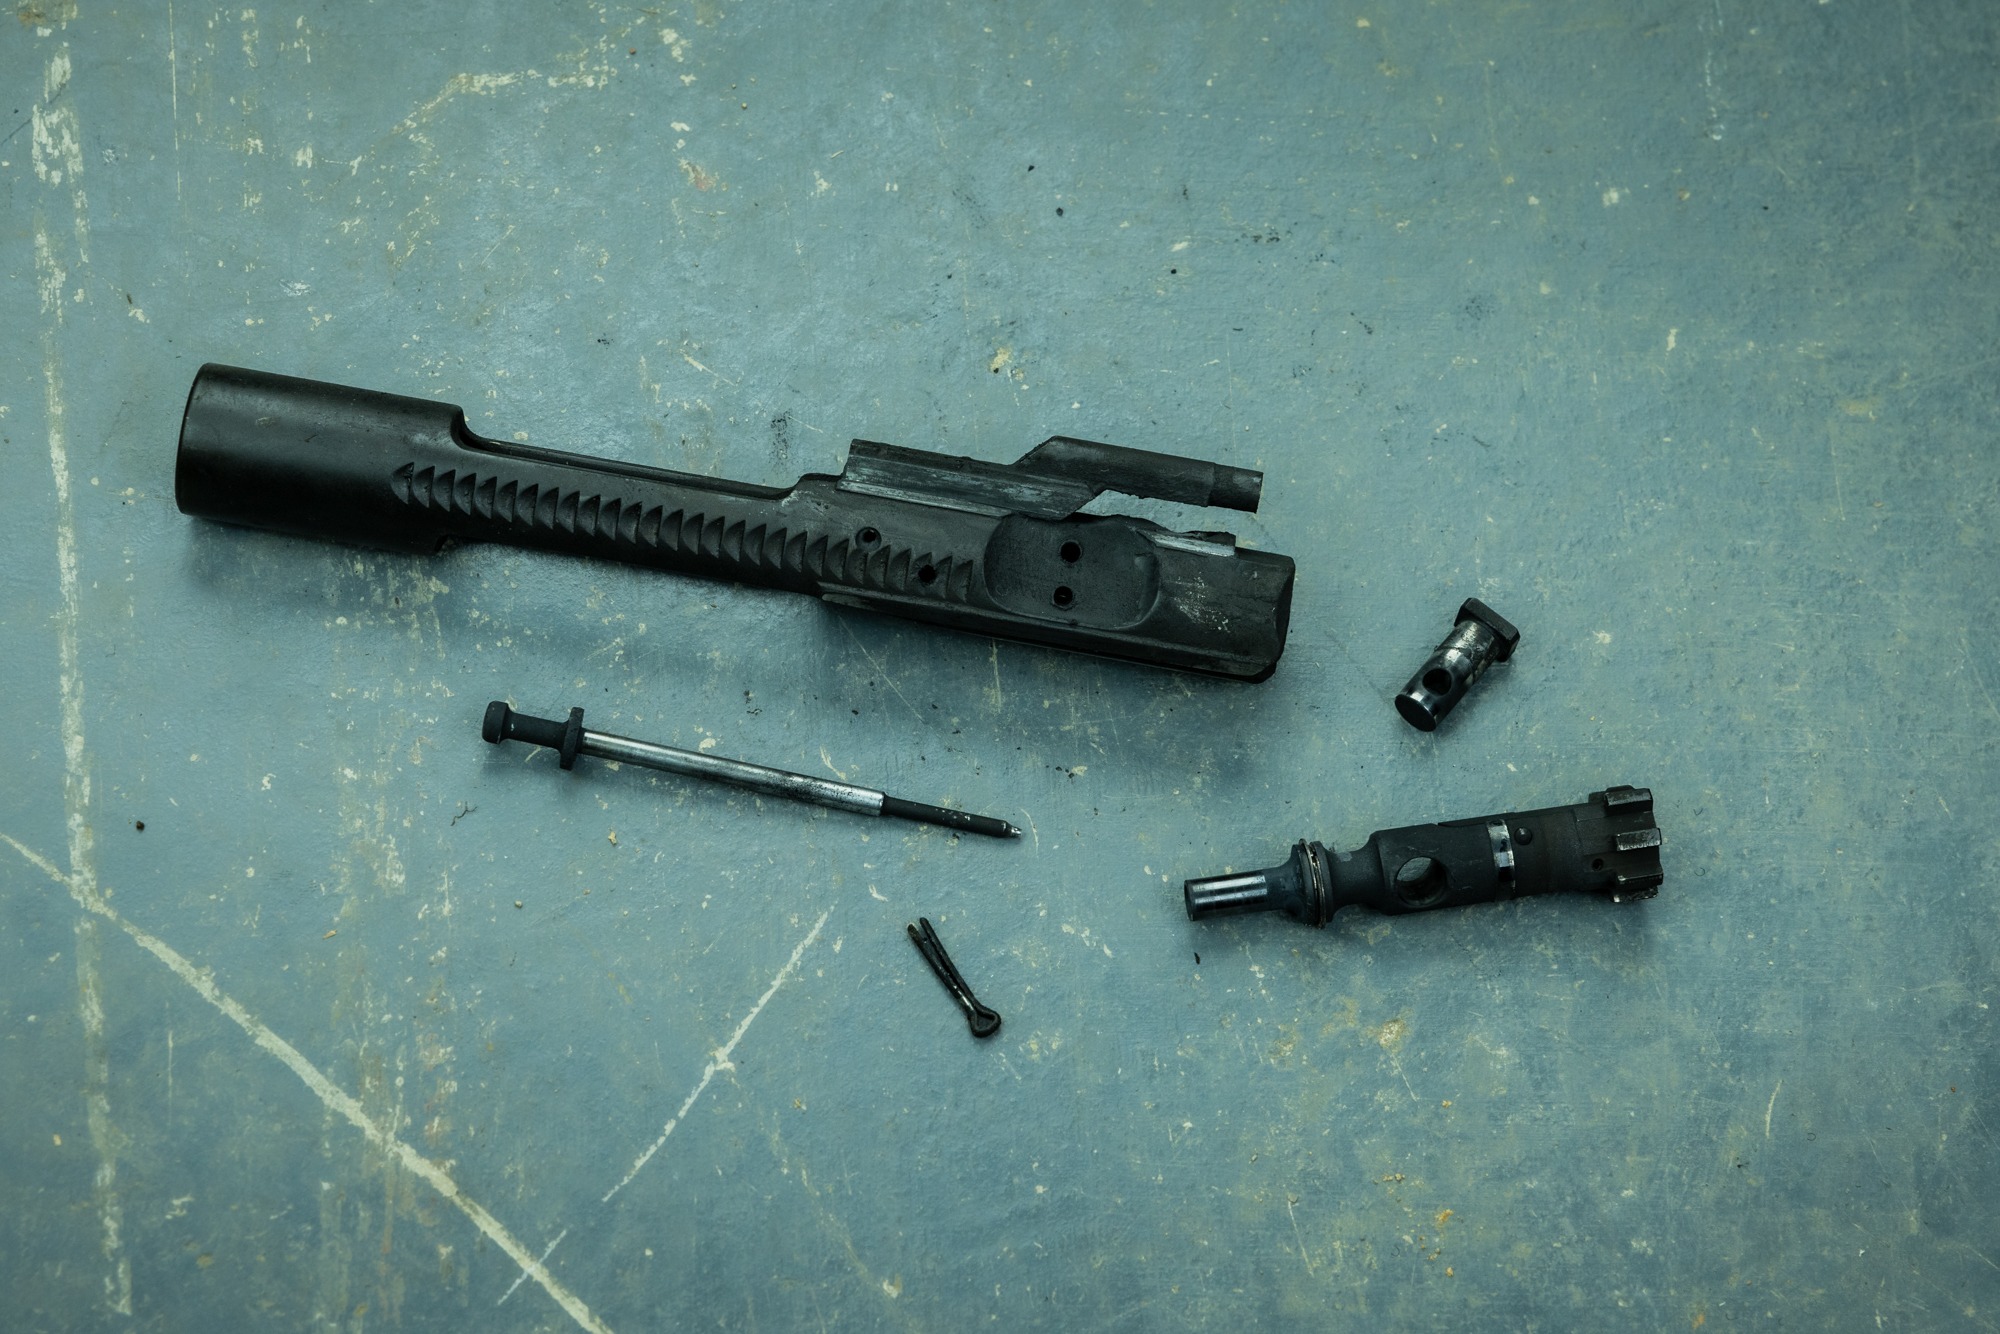
Bolt Carrier:
Since the carrier is one of the first things to remove, it's good to go ahead and check it before we go any further. Before cleaning, check the gas key for leaks. These leaks usually occur around the front of the key near the cam pin or the rear of the key above the firing pin. This is not an immediate issue but can be a concern for reliability since the gas system isn't completely efficient. After this, we will continue the inspection of the carrier.
- Wipe off any oil/carbon buildup and visually inspect contact points for uneven wear/burrs. It is good to clean and check the upper receiver for wear/gouging while doing this.
- Check the rear of the carrier for any burrs. This can be the cause behind a ring being worn into the face of your buffer.
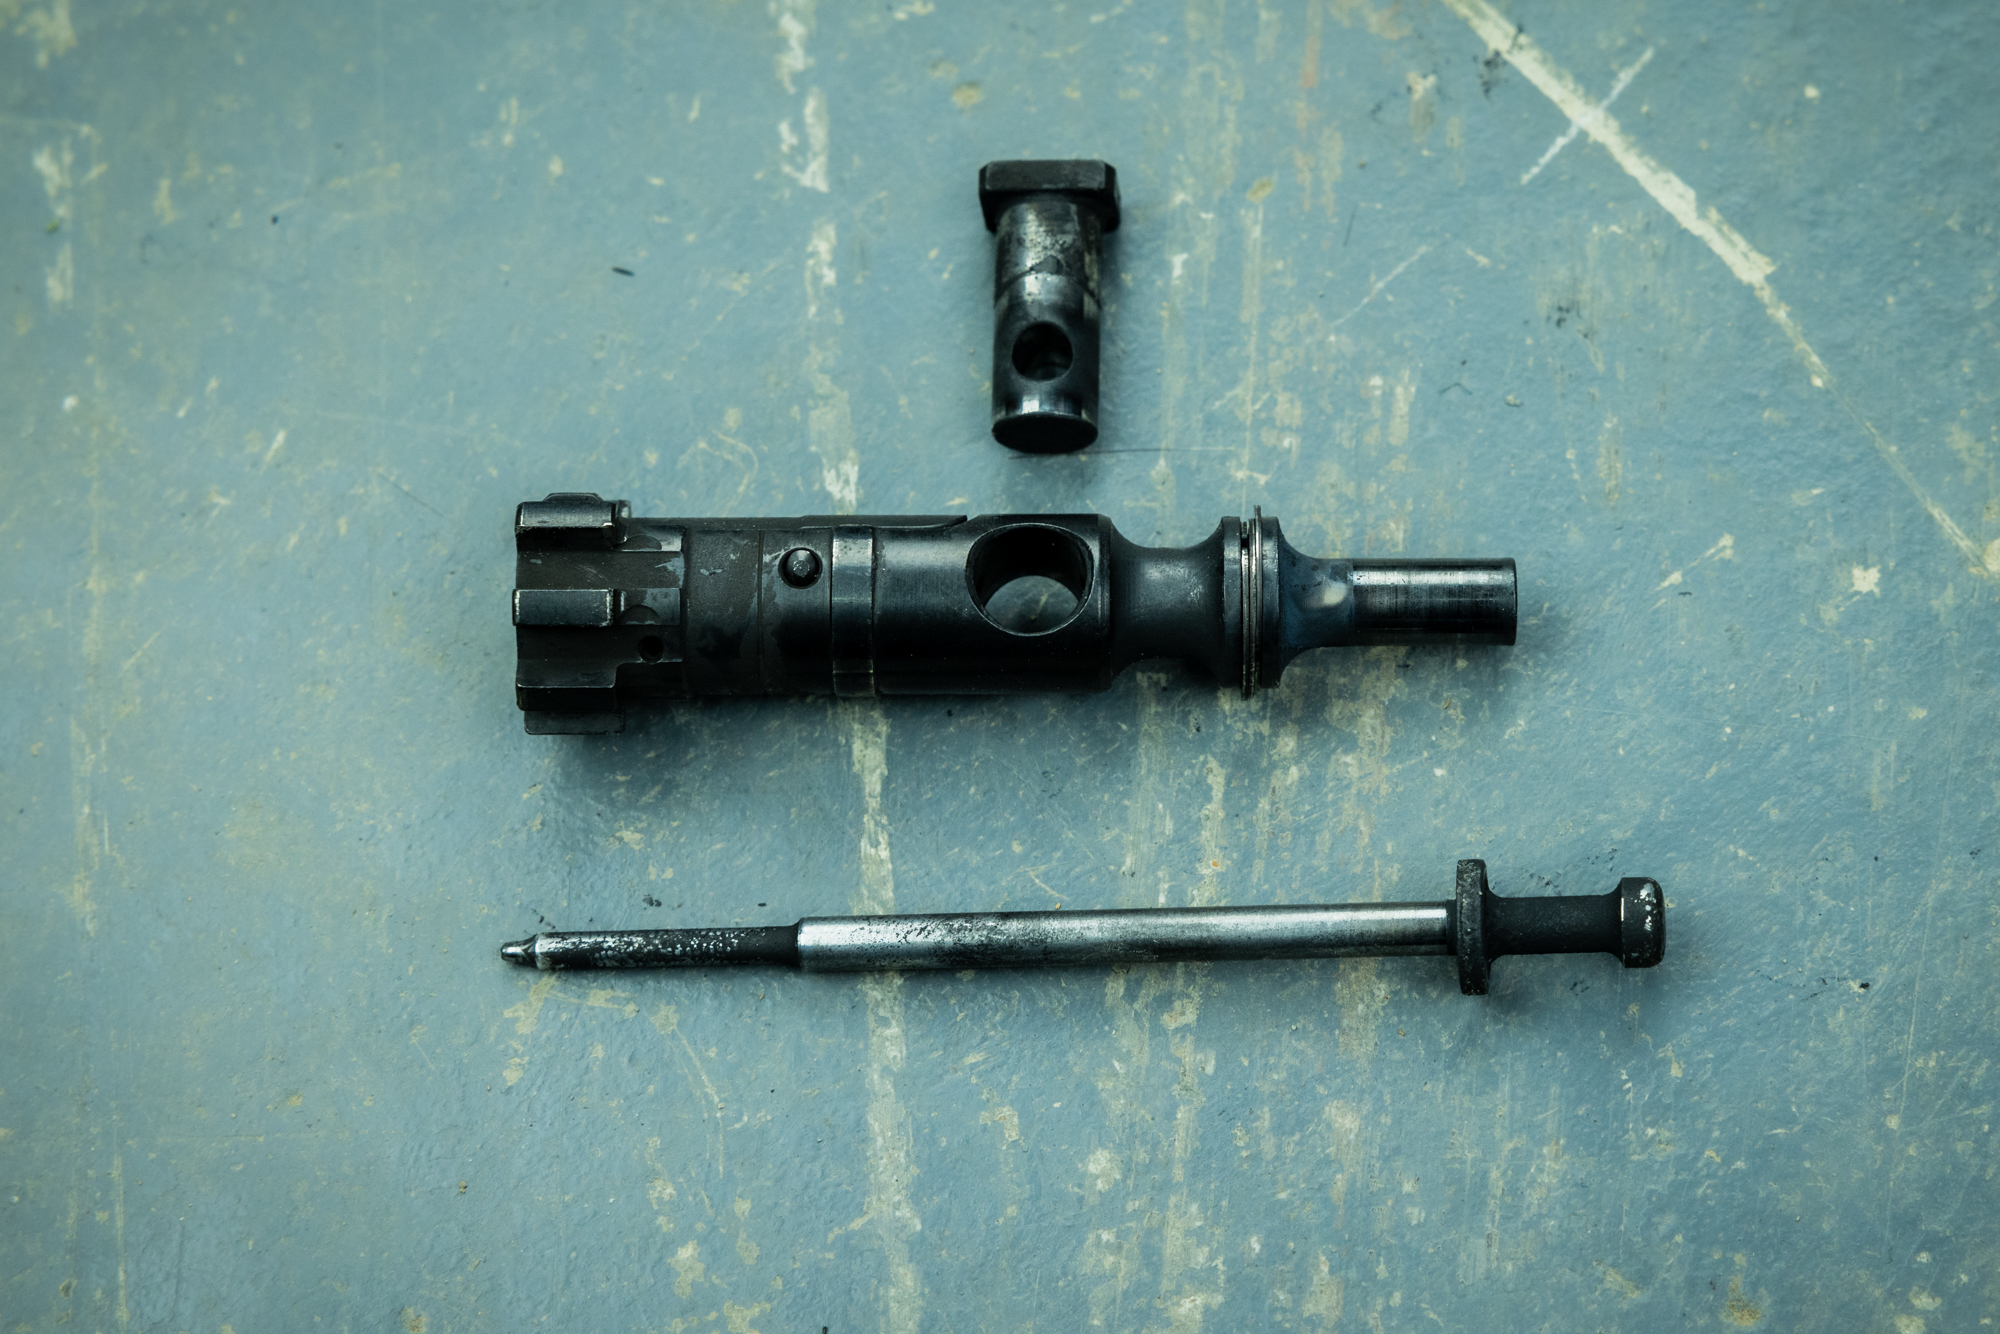
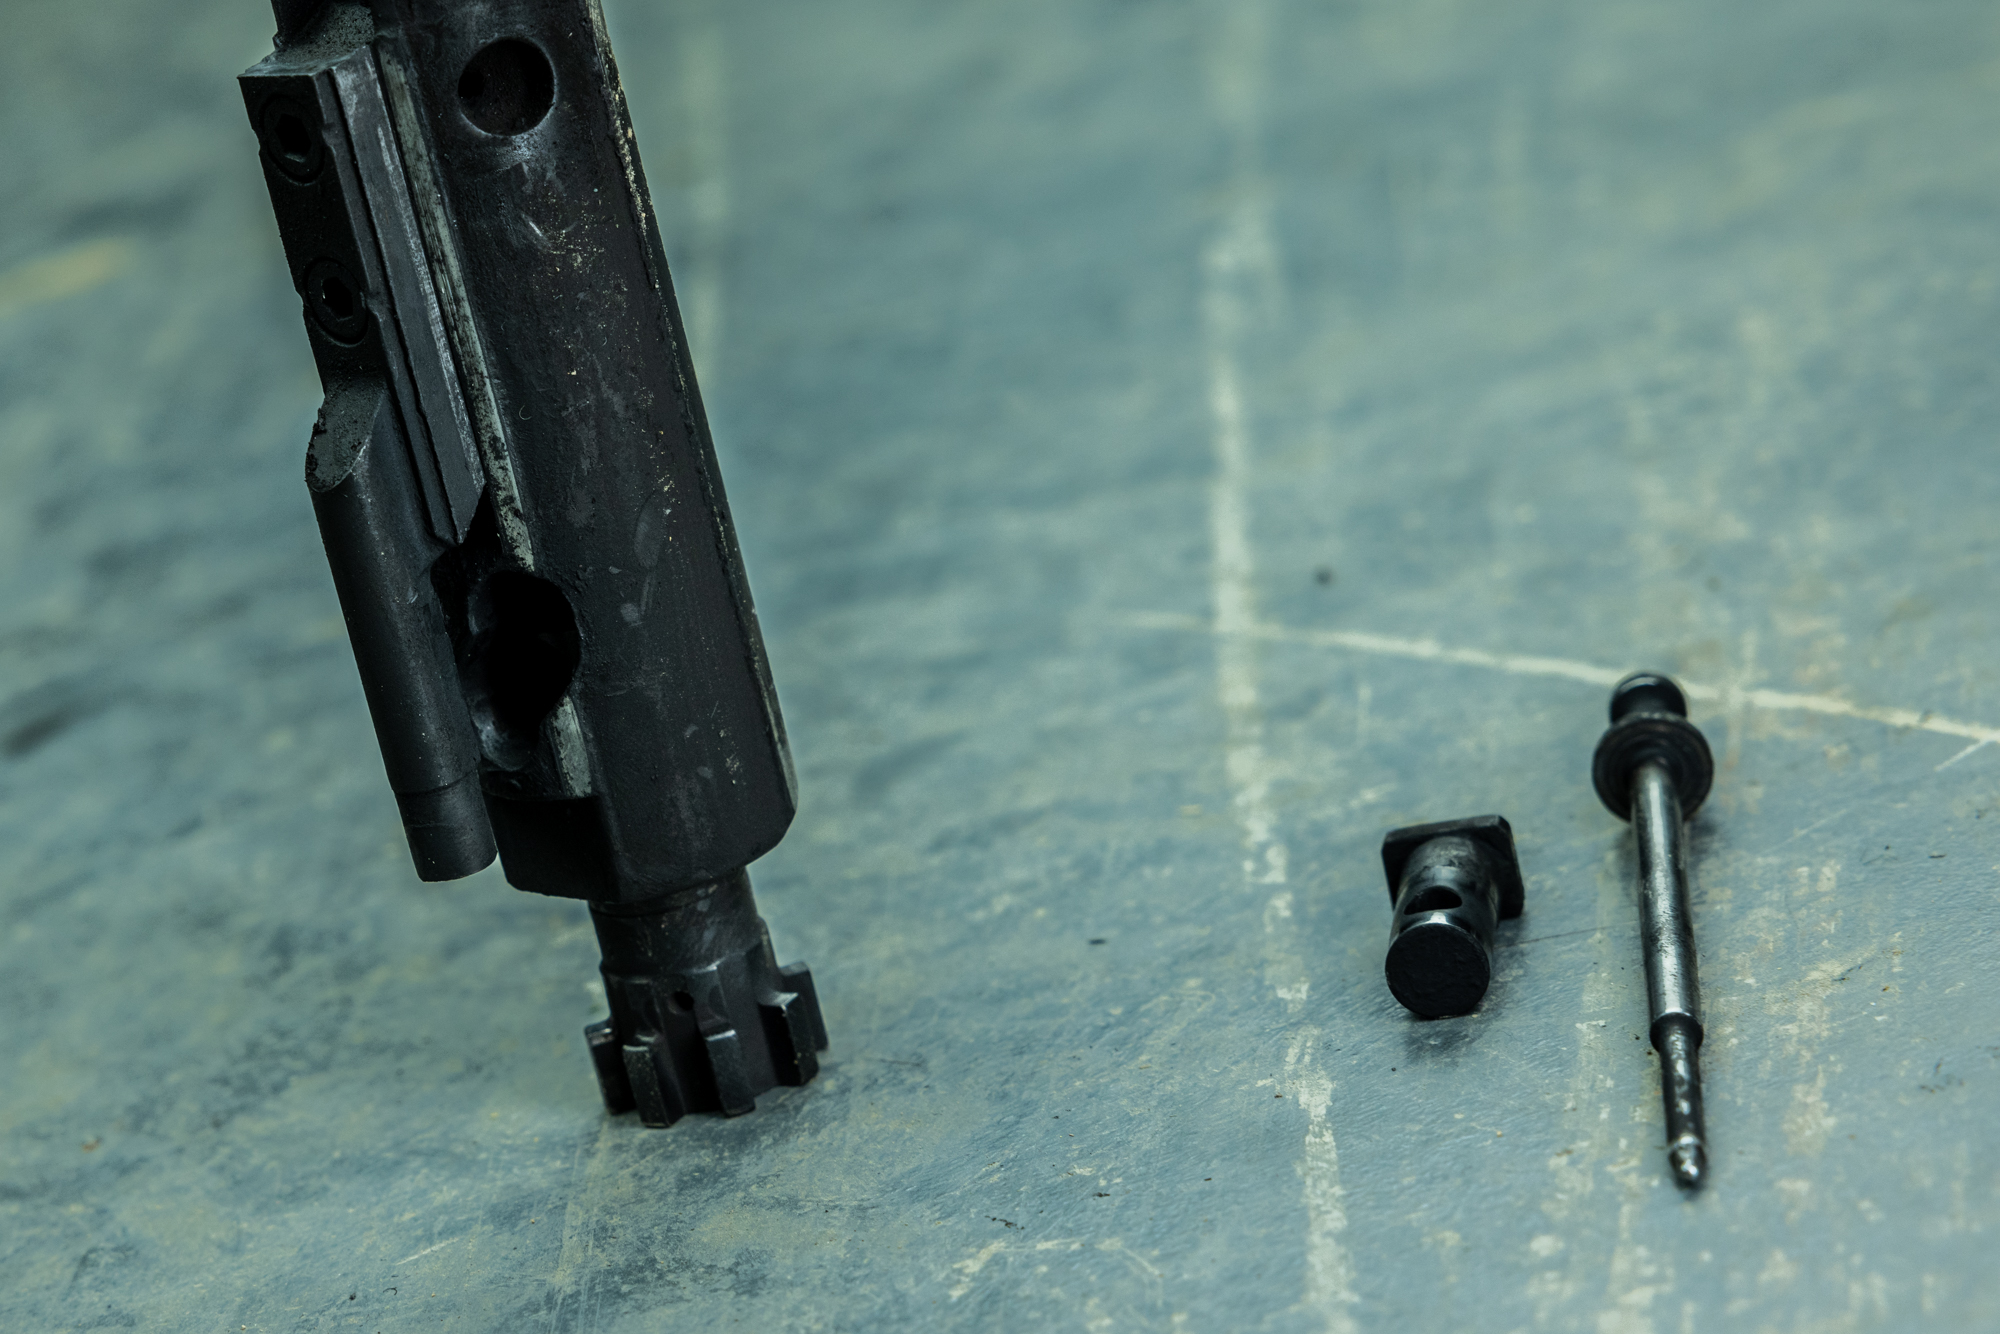
- Remove the retaining pin, firing pin, cam pin, and finally, the bolt. With these removed, clean and visually inspect the bore of the carrier for any roughness.
- Visually inspect staking and check that the gas key is tight by wiggling it back and forth, do not attempt to remove the screws.
Bolt And Extractor:
Bolt:
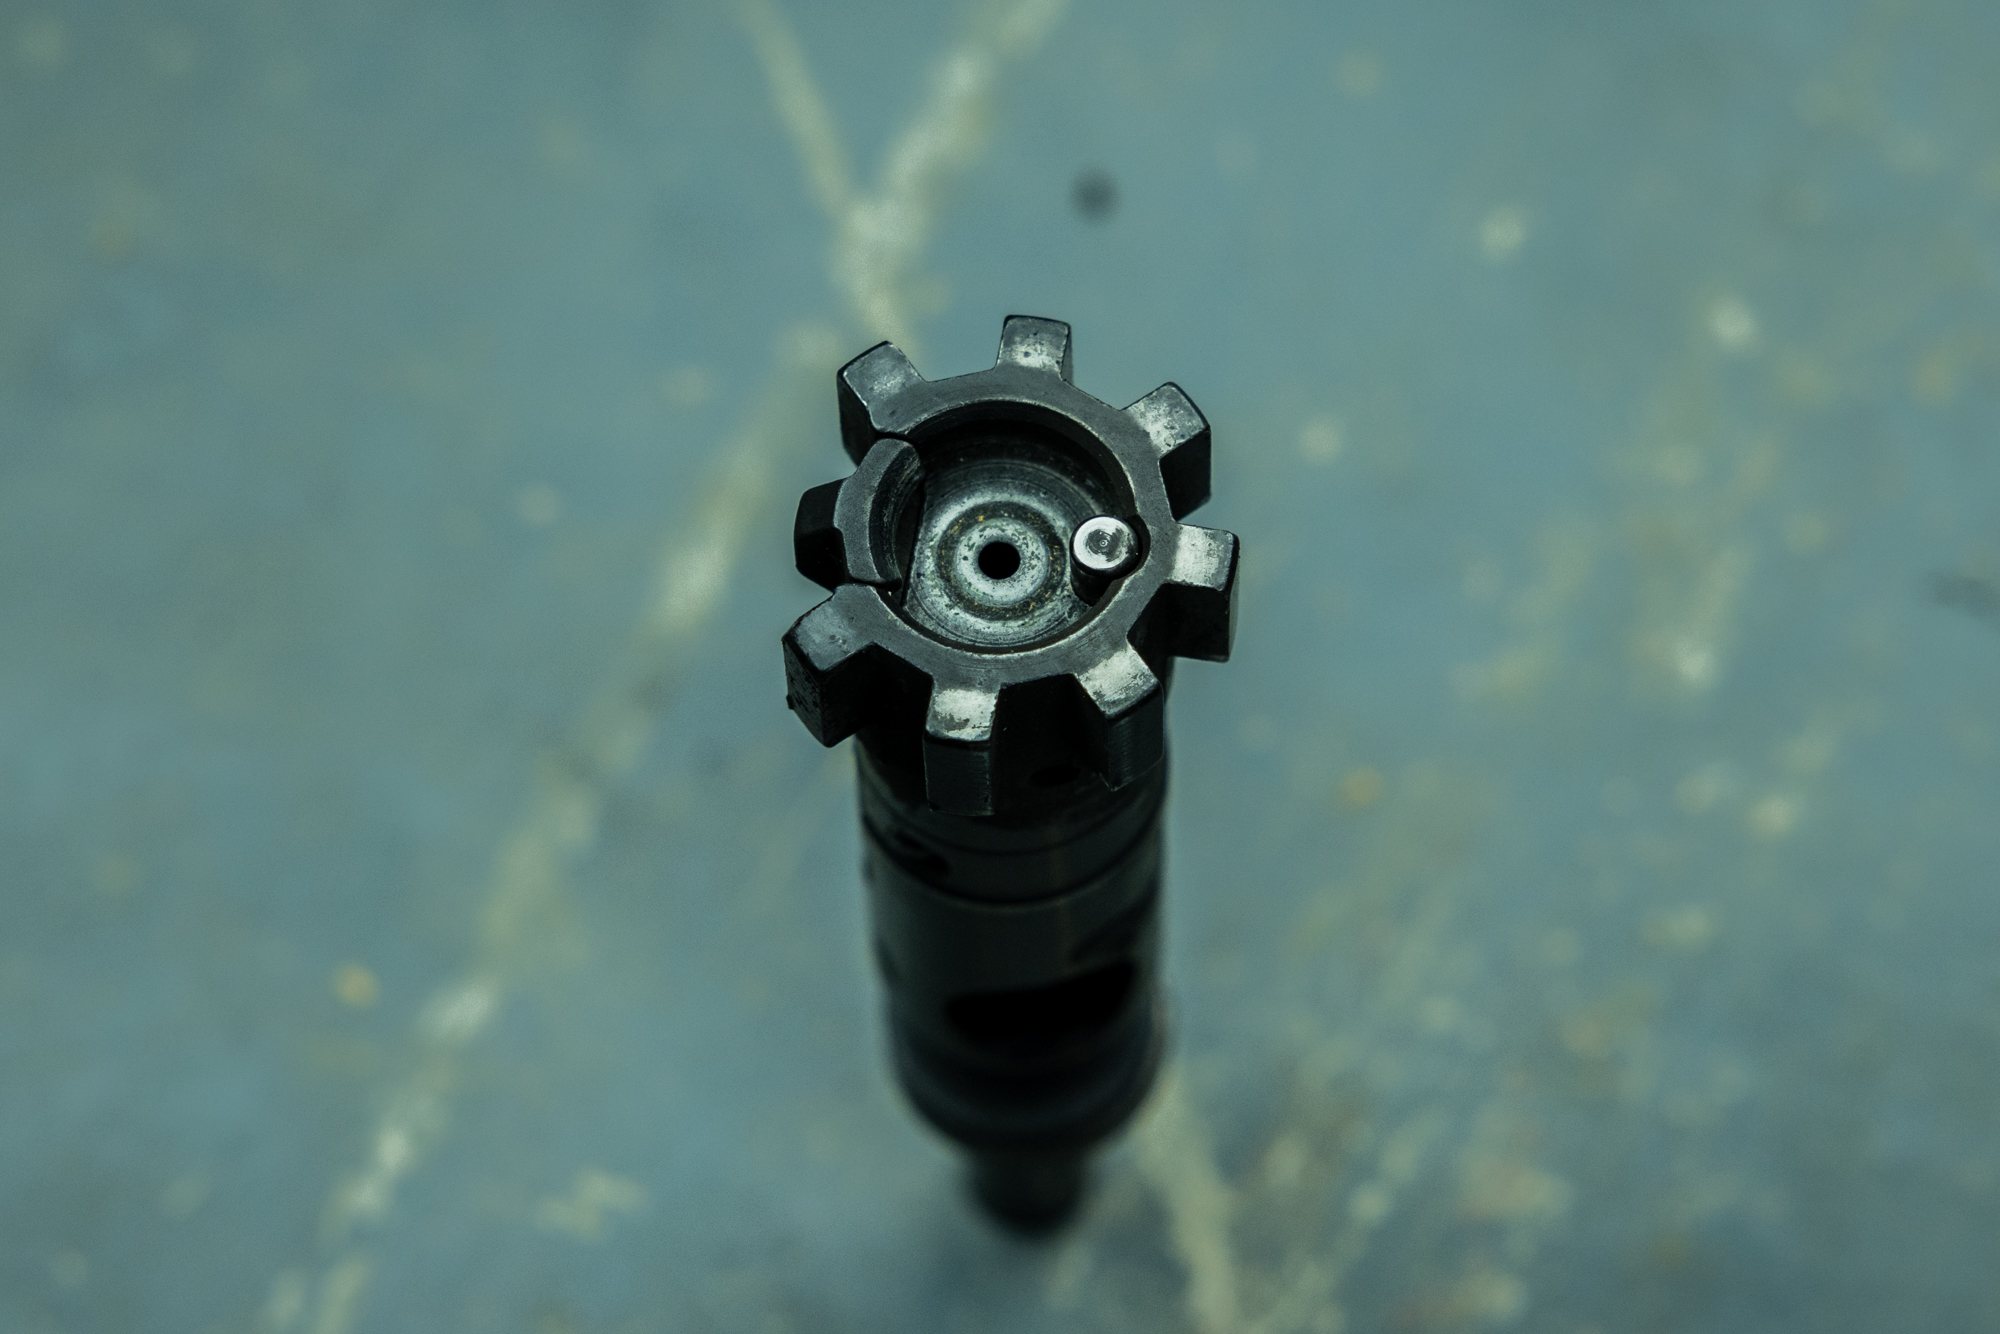
Clean the bolt and visually check bolt lugs and all contact points for even/uneven wear, peening, etc. It's also good to check the barrel extension for this as well. While we're here, check the ejector for proper tension.
The below example is a bit extreme but showcases what a heavily worn bolt looks like. You will notice the lug opposite the extractor has more wear on it. This is relatively normal due to the bolt design; some companies like LMT have addressed this problem with their E-BCG. While their design increases the service life of the bolt, the standard design is fairly robust, and you won't have any issues with proper maintenance.
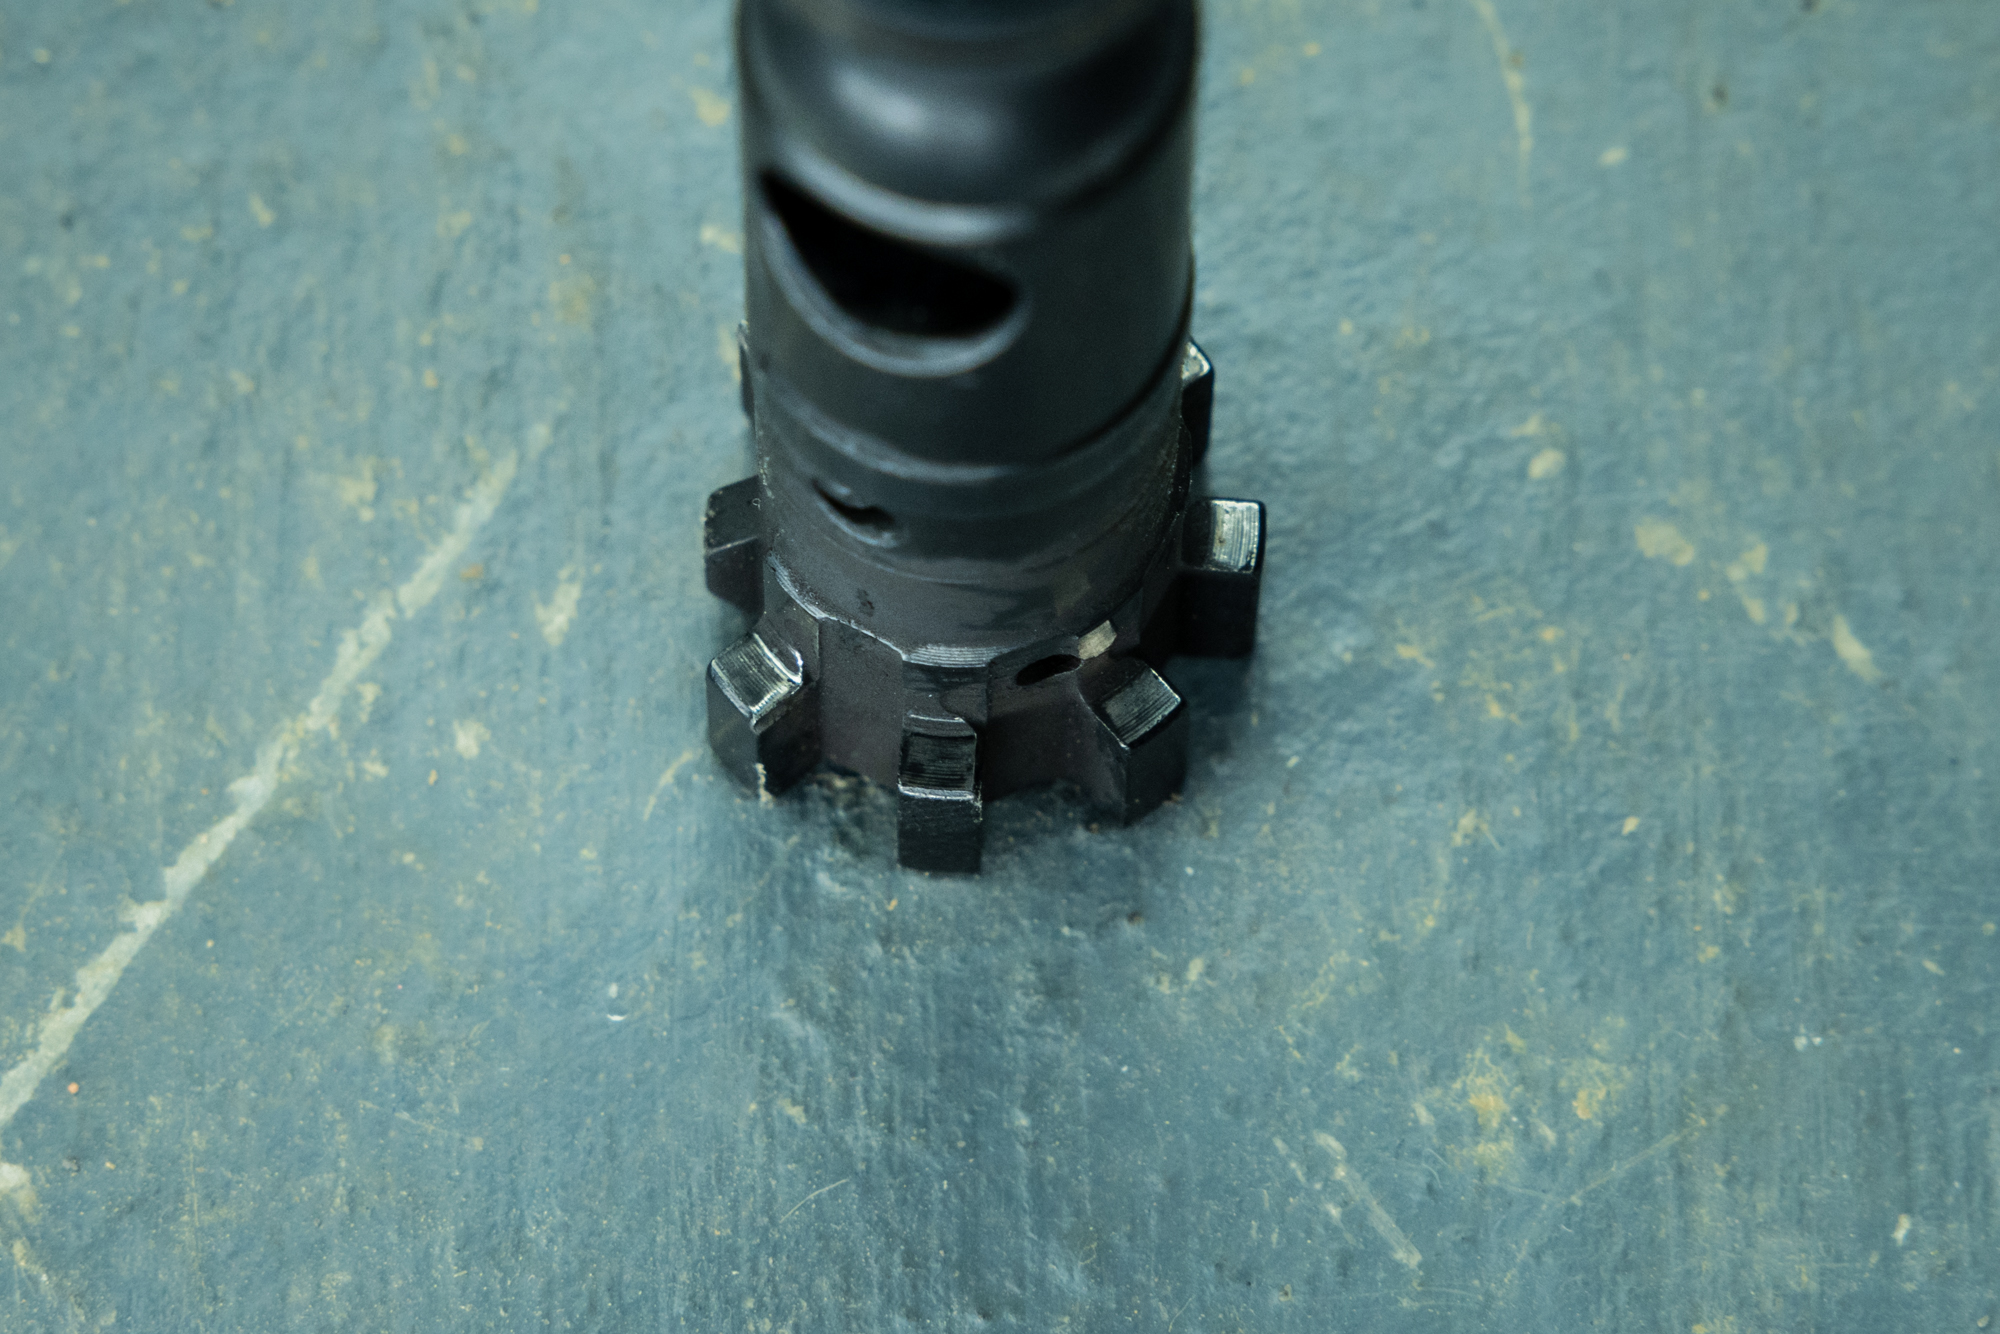
Below you can see an example of peening on the left bolt lug. Considering the round count and abuse this rifle has seen, this amount of peening is not as much of a concern as if this was happening on a newer rifle, but it is still something to look into.
With those visual checks completed, we can finish up the bolt inspection with the following steps.
- With the bolt removed from the carrier, insert the firing pin and ensure it doesn't drag. It should freely move in the bolt. If it does drag, it can be a sign of the bolt stretching and/or cracking, which is uncommon with quality parts, but worth a check.
- Insert the cam pin into the bolt while it is out of the carrier and ensure it can rotate smoothly. Newer rifles may be slightly rougher, but there shouldn't be any hard stops.
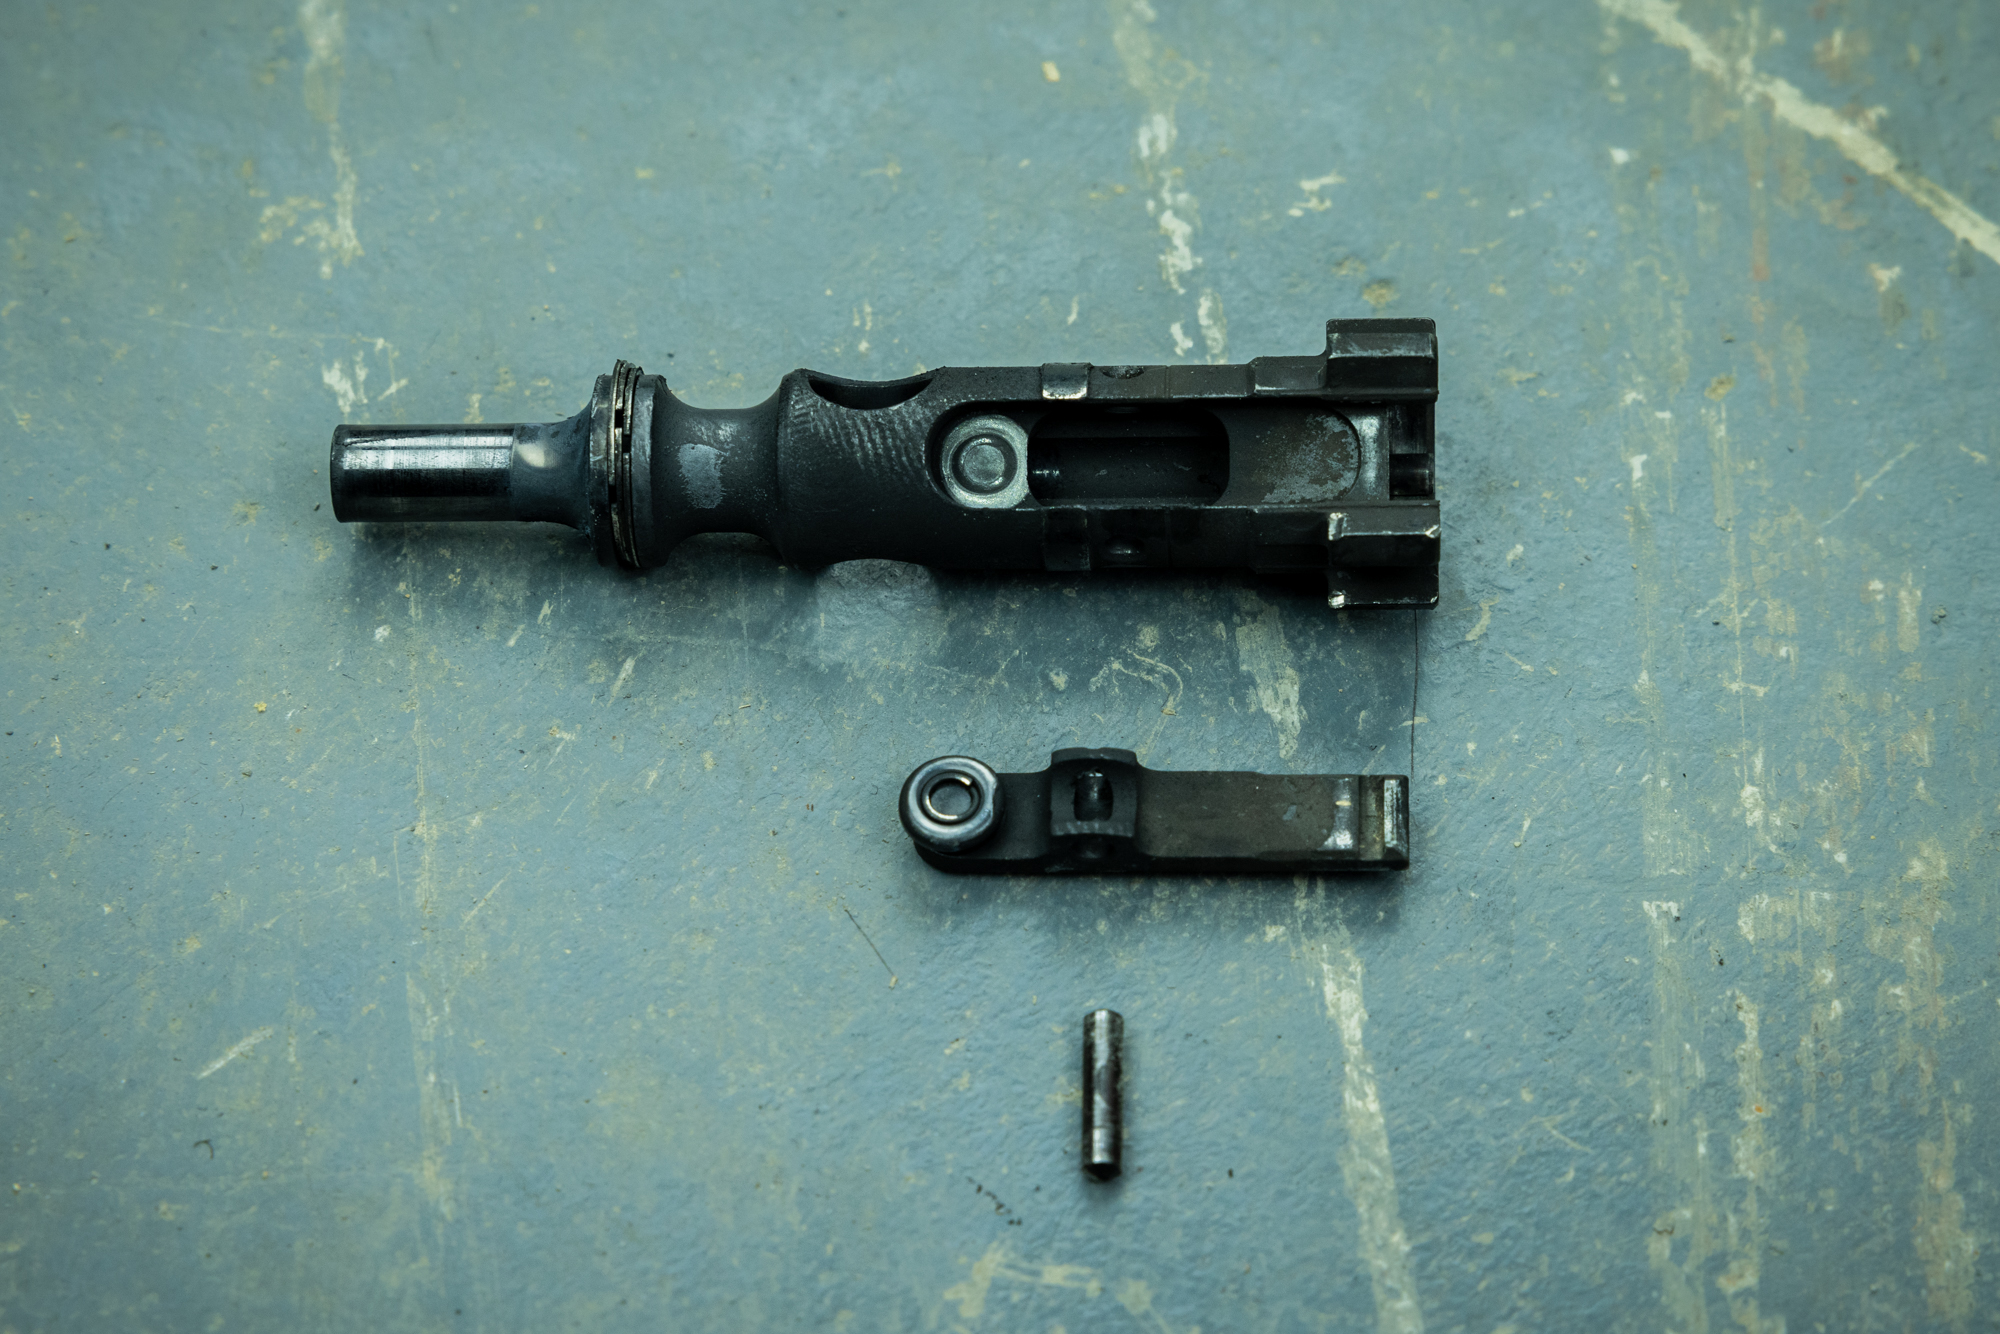
Extractor:
- While the bolt is out of the carrier, remove the extractor and visually inspect for wear, you should be able to run your finger/fingernail across the extractor and feel the lip of the extractor groove. You can also check this with a spent casing.
- Check extractor spring for wear; this is done by checking height with another spring. Standard extractor springs are more prone to compression, so we usually recommend Sprinco for replacements, as they are somewhat inexpensive.
Gas Rings, Cam Pin, And Firing Pin:
These will be your more common wear parts that will need to be replaced more frequently; luckily enough, they are relatively inexpensive and easy to inspect.
Gas Rings:
- With the cam pin and firing pin removed, place the bolt in the carrier and extend fully. Place the carrier vertical, sitting on the bolt face. The gas rings should be able to support the weight of the carrier.
If they fail this test, it doesn't mean the gas rings are bad, but it does mean they are starting to get worn. Since they are cheap, we usually replace them at this point. From here, you can visually inspect the rings for pitting/erosion.
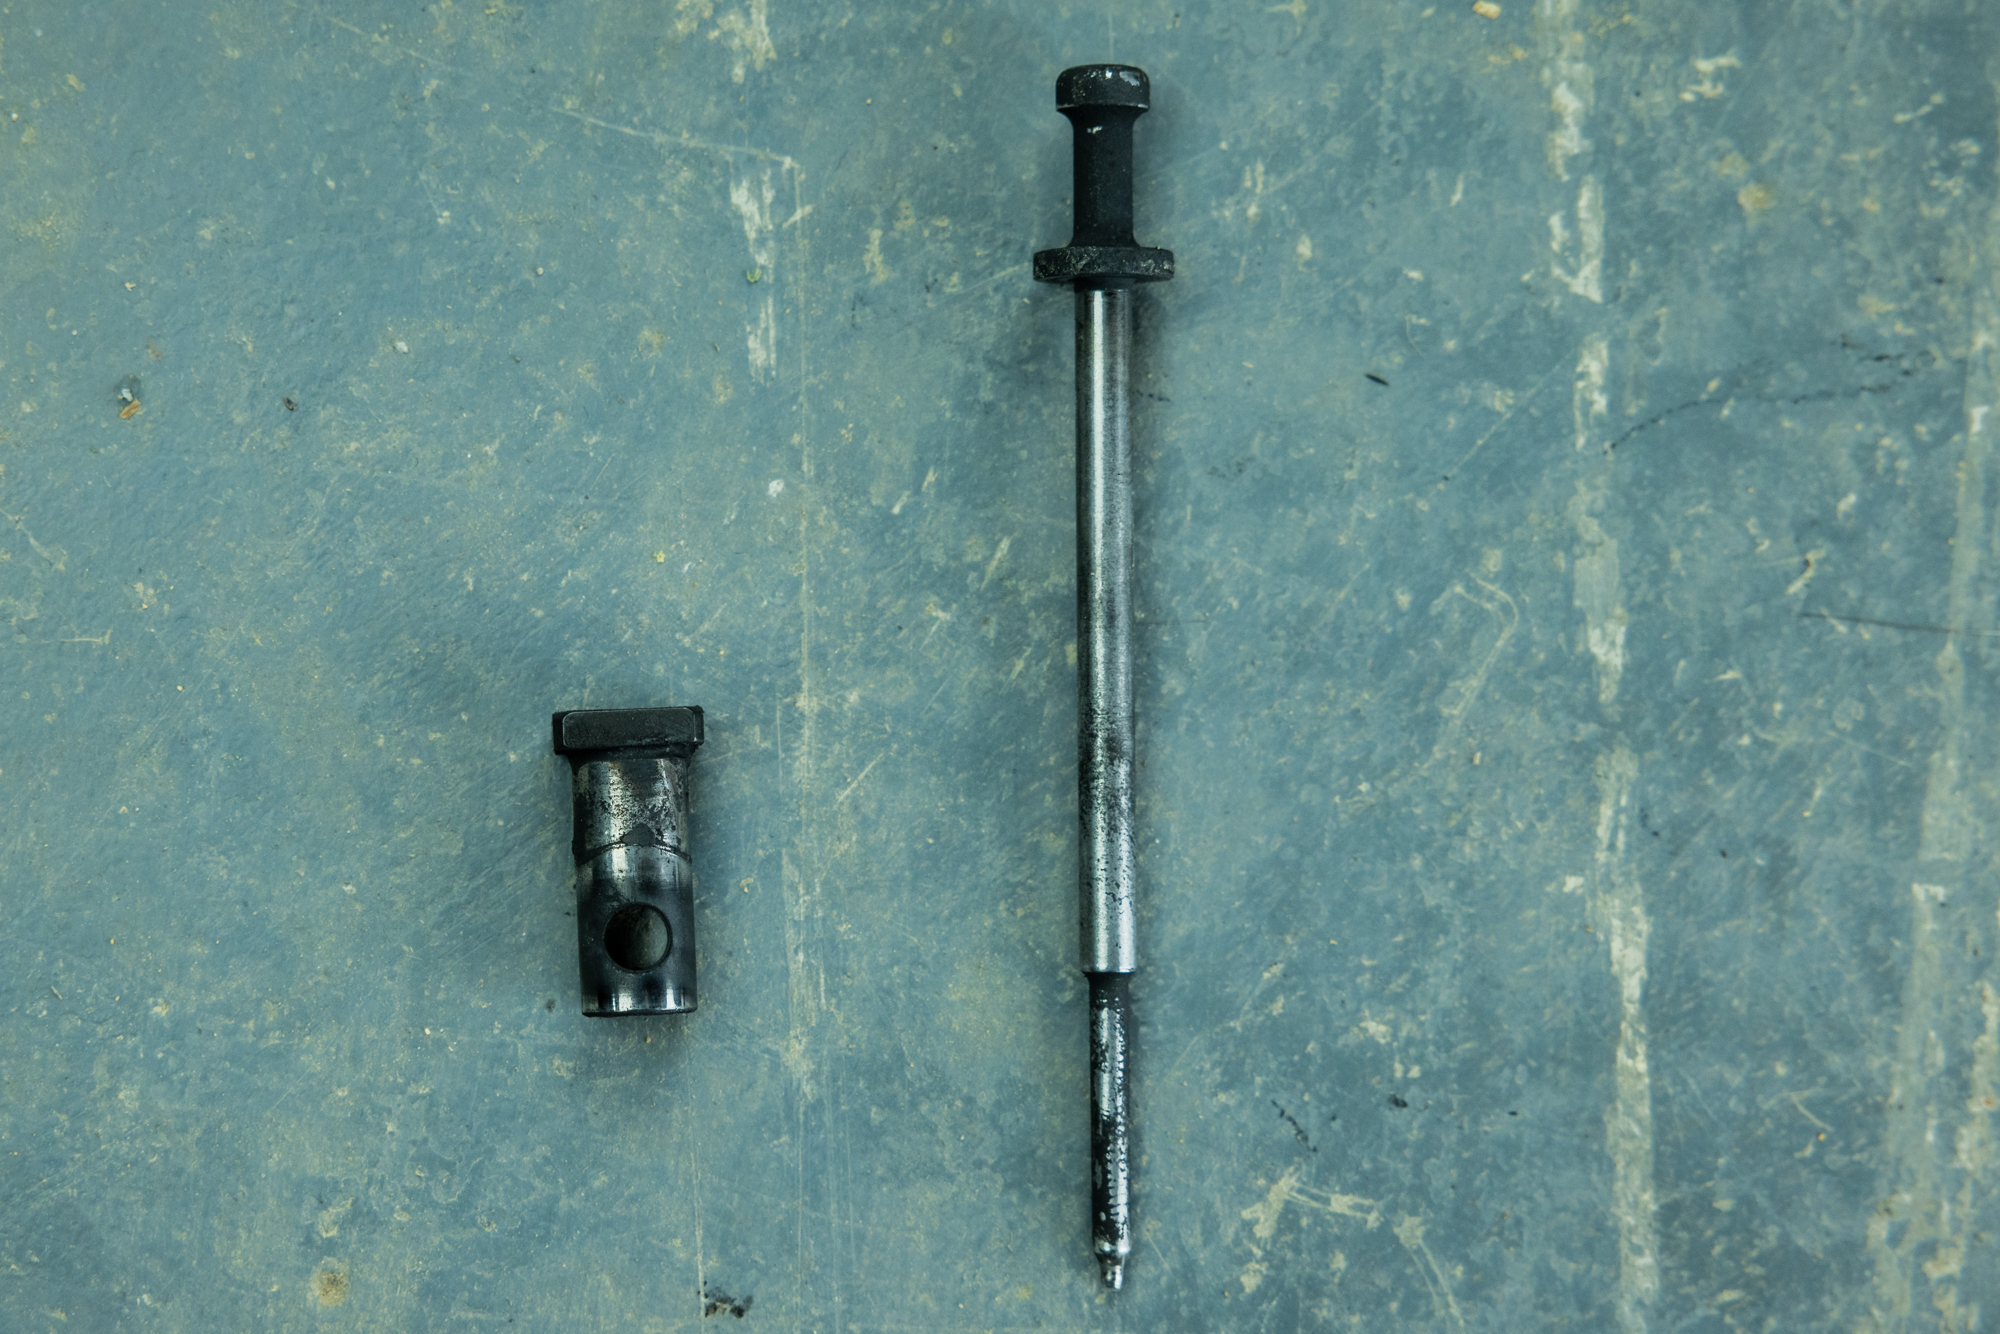
Cam Pin:
- Visually inspect for wear. If there is a significant lip that you can catch your fingernail on, it's usually time to replace the pin. It's also good practice to place the pin in the same orientation each time, allowing it to wear more evenly.
Firing Pin:
- Nothing fancy here. Clean and visually inspect for pitting/peening.
Lower Receiver:
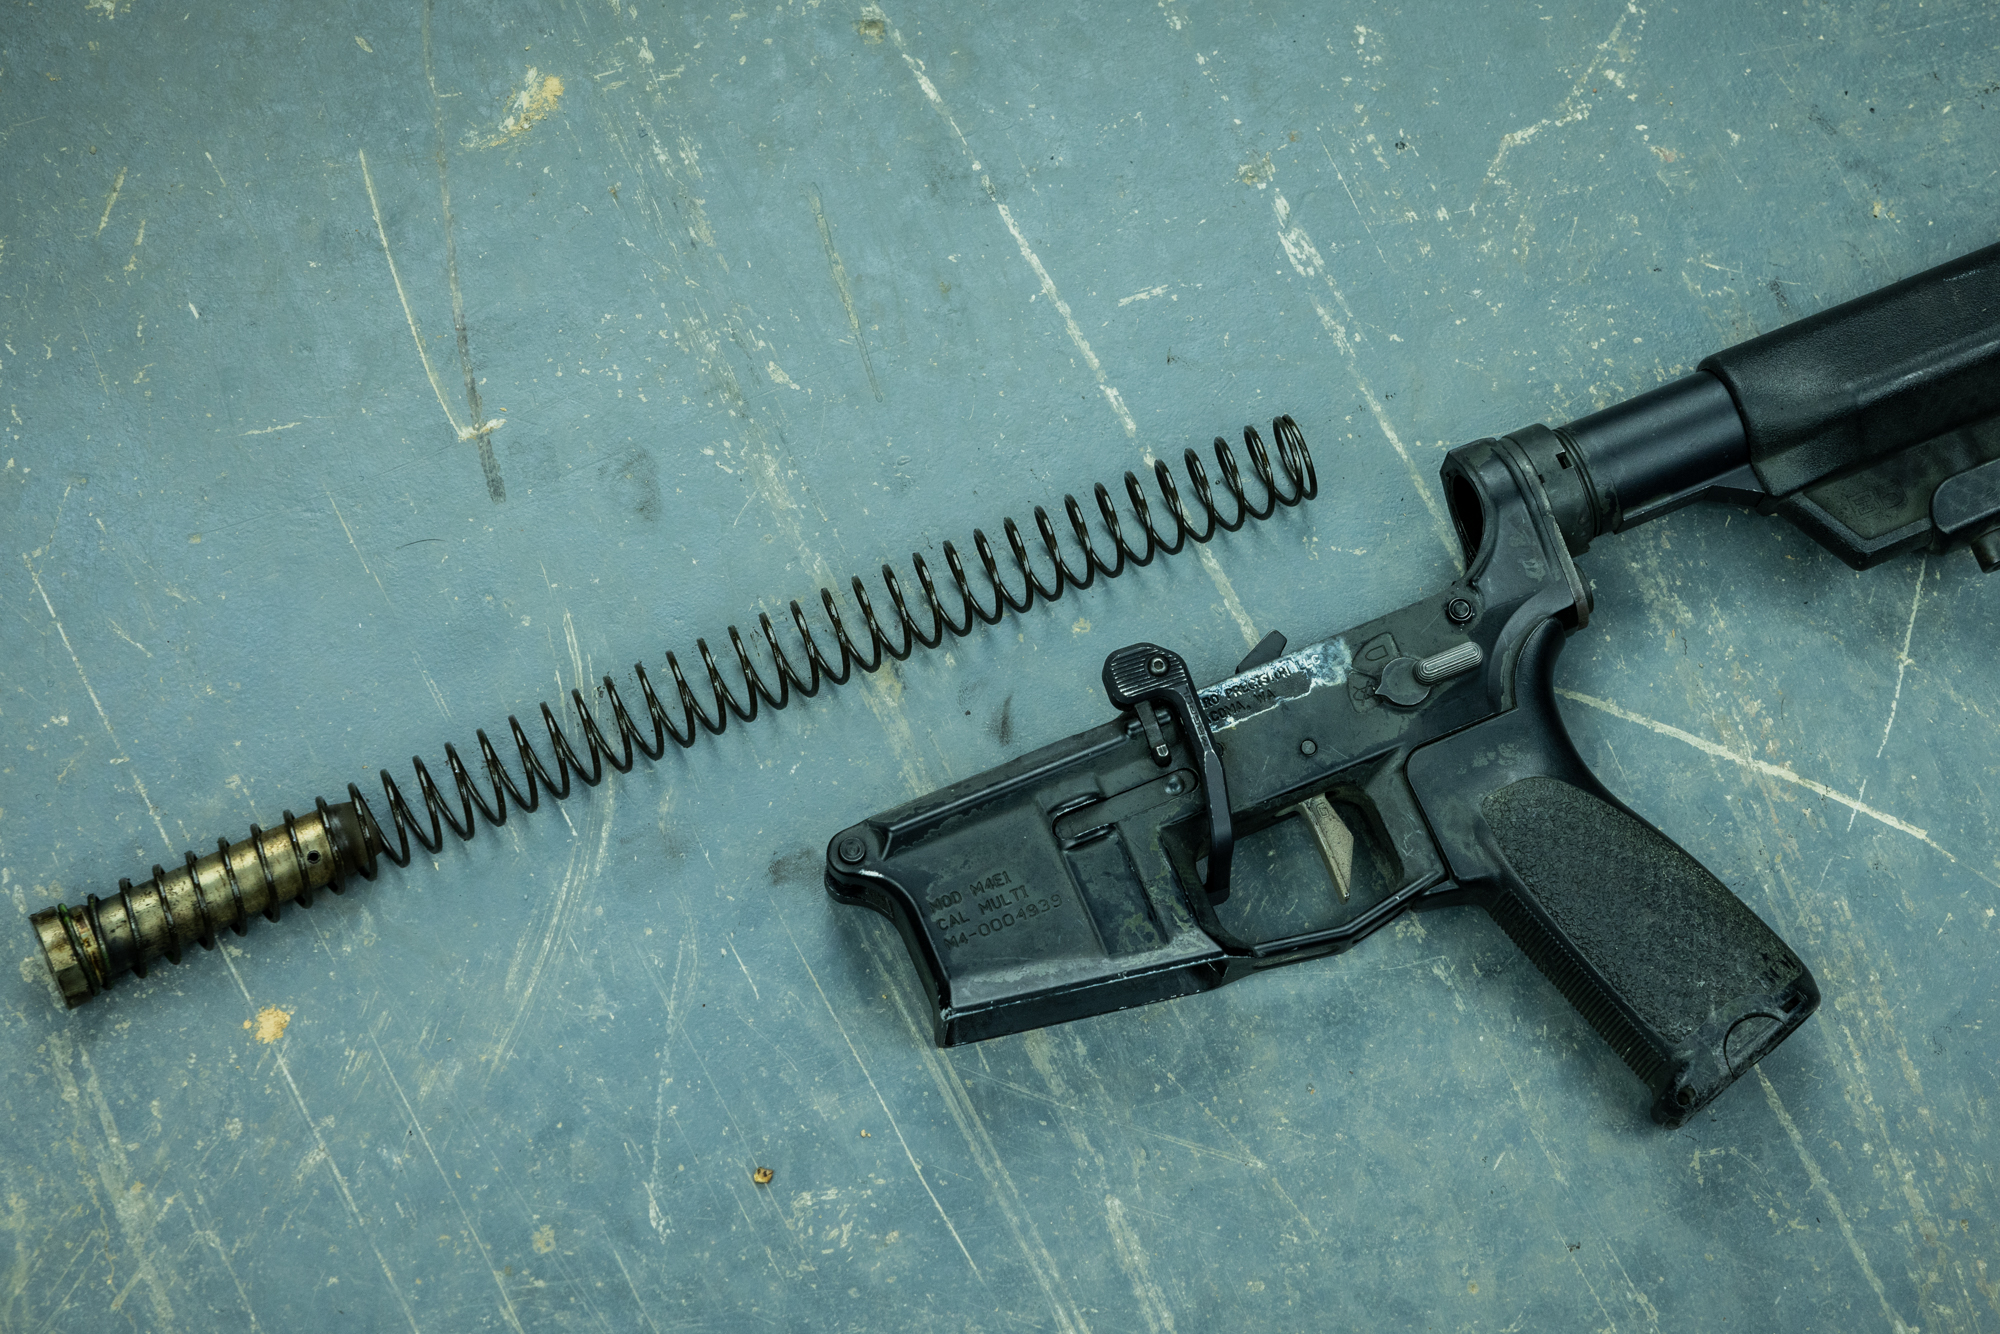
Buffer System:
- Visually inspect spring for length, carbine springs should be no less than 10 Inches, and rifle springs no less than 12.
- Inspect buffer for marring/impact marks. Also, inspect the rubber bumper on the back for degradation.
- Inspect castle nut for proper staking and ensure buffer tube is not loose.
Trigger:
- Ensure proper trigger function by running through safe, fire, and resets. Do not let the trigger fall on the lower receiver as this can cause damage, always catch the hammer with your thumb.
Lower Parts:
- This one is pretty straightforward. Inspect all lower parts for proper function.

The tools and knowledge to maintain and fix your rifle, or any gun you own for that matter, are crucial. Without these, you will need to rely on outside sources for these tasks. While that may be fine in the current state of the world, it leaves a significant gap in your capabilities.
If you are looking to further your education, we recommend taking an armorer class from a reputable instructor. If you are not looking to go that far, you can learn a lot from online resources. Below, we will list some links to resources we trust that have valuable information.
School of the American Rifle, Youtube.
Trajectory Arms, Instagram and Youtube.
If you have any further questions, don't hesitate to email us at team@trex-arms.com.
Comments
0 comments
Please sign in to leave a comment.